ViewTech Keeps Their Clients Informed With Video Borescope Updates and Informational Videos
Our only business is borescopes, which makes us the industry leaders in borescope sales and service.

How to View, Upload and Organize VJ-3 Video Borescope Inspection Photos
View, Upload and Organize Inspection Photos VJ-3 Video Borescope Video

View, Upload and Organize Inspection Photos VJ-3 Video Borescope Video on YouTube
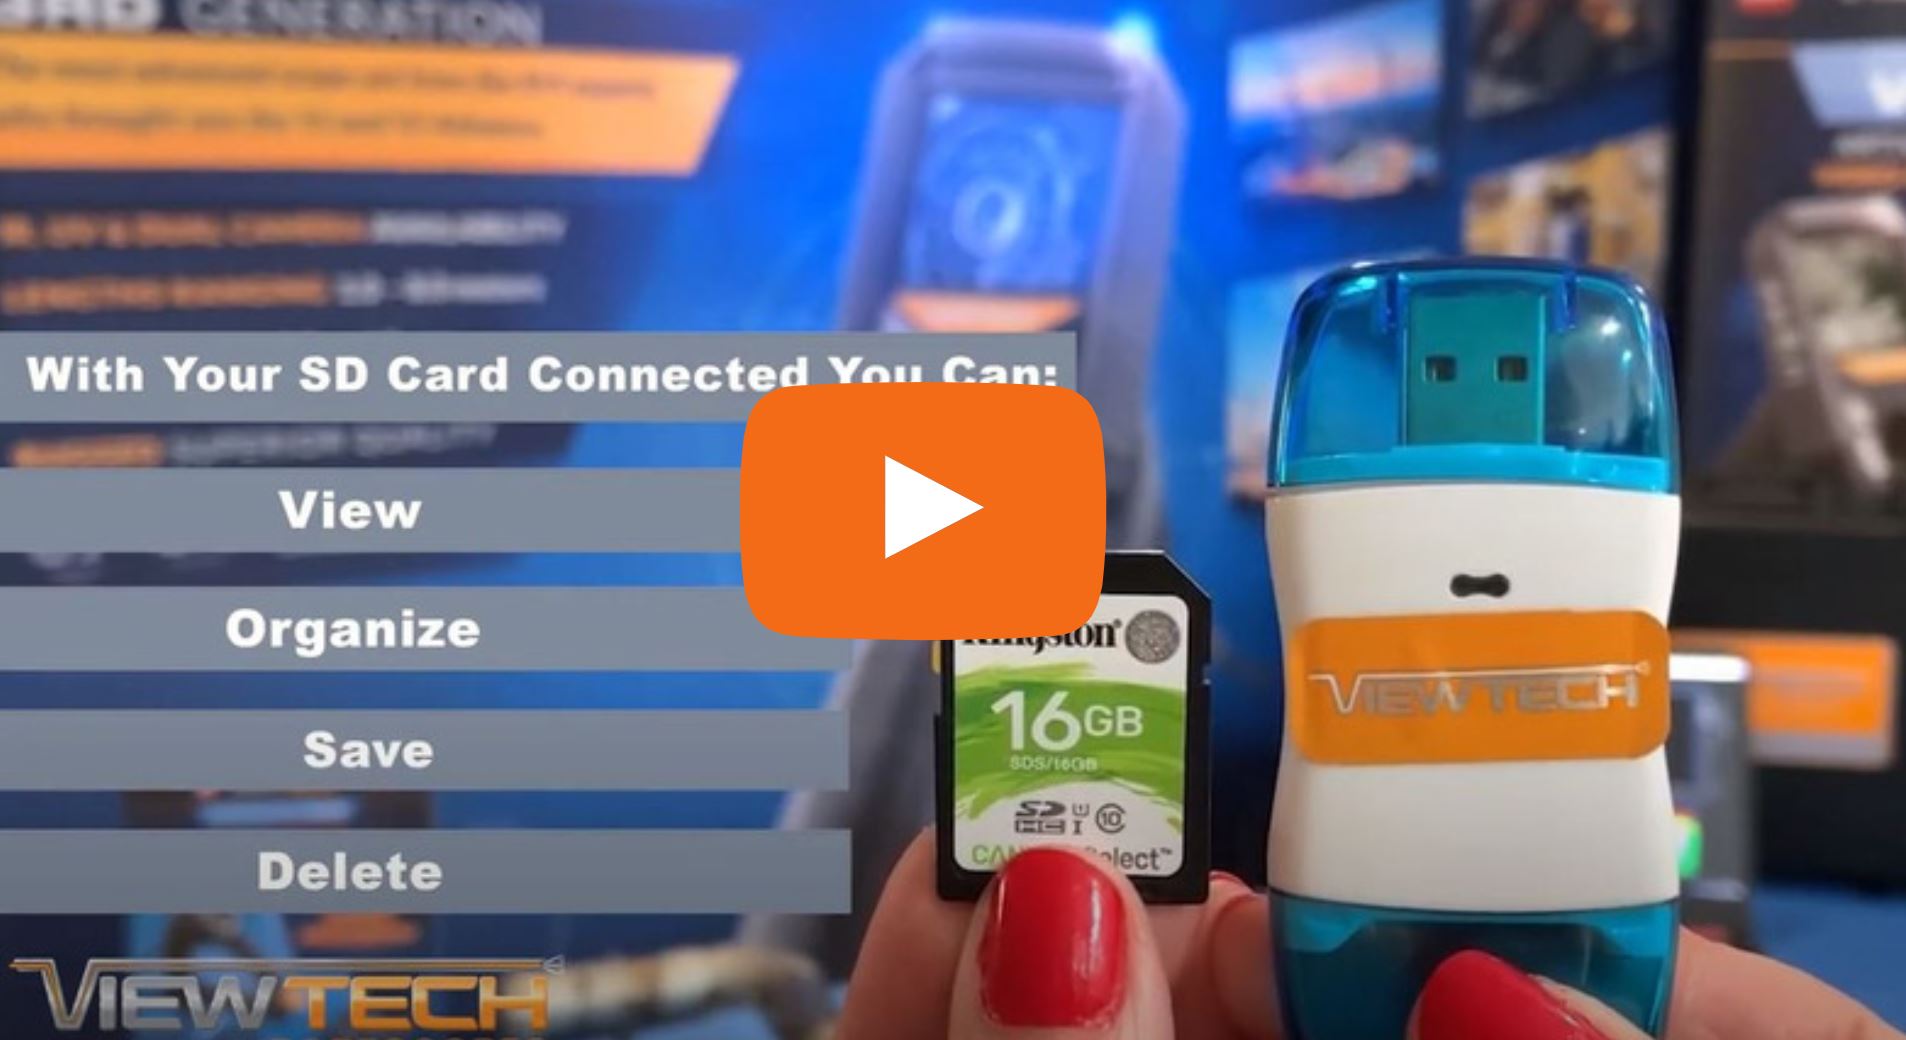
With your ViewTech VJ-3 video borescope, still images and videos are stored on the provided SD card. There are several options available to view inspection photos and videos captured with your ViewTech video borescope. These options include – viewing images and videos on the video borescope, connecting your VJ-3 to a monitor via the AV or HDMI Output for real-time viewing, using the SD card and ViewTech SD card reader or micro USB cable, while connected to a laptop or personal computer.
Note: your VJ-3 video borescope uses the included 16 GB SD card, which can hold up to 10,000 photos or more than 60 hours of video.
To view your inspection images and videos on your VJ-3 video borescope, you can quickly review files by using the Live Camera / Video / and Image Preview toggle button. Photos and videos can easily be deleted by selecting the Menu button and Up or Down buttons, while following the prompts to delete one or all images.
To display real-time inspection footage on an external monitor, connect the AV or HDMI cable to your VJ-3 video borescope and then connect the cable to the monitor. The image displayed on your ViewTech borescope will also display on the external monitor.
With the provided ViewTech SD Card Reader and SD card, you can view, organize, save or delete images from the SD card while connected to a computer. After removing the SD card from your VJ-3 video borescope insert the SD card into the SD card reader and connect the USB portion to your computer. While most systems will automatically detect the SD card files, you are always able to use your computers file explorer to locate the SD card and inspection images.
When connecting the micro USB from your VJ-3 video borescope to your computer, the same process and procedures will be followed as when utilizing the SD card and SD card reader.
As a best practice, we recommend you backup or archive your inspection images and videos. If your company or inspection team does not currently have a process in place, you may want to consider starting one. Once files have been deleted from the SD card, backup images are not stored on your video borescope. Always be cautious when deleting images. Don’t forget to return your SD card to the VJ-3 video borescope – – and always insert the SD card with the notch pointing forward.
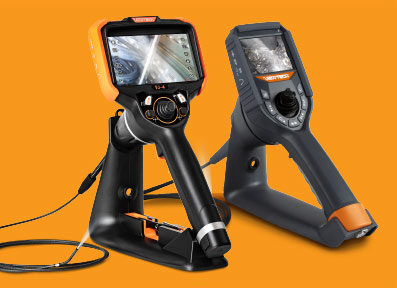
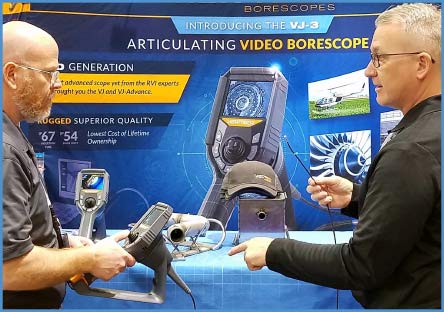
The best way to experience the VJ-3 Polyethylene video borescope is with our free on-site demo program. Call to speak with one of our knowledgeable video borescope experts and we will help find the best borescope for your inspection needs. You will quickly realize why ViewTech Borescopes is the number one seller of video borescopes in North America.
Demo Heading


Success Story
See the VJ-4 in Action
Meet our team and test drive our borescopes at upcoming tradeshows, conferences, events and symposiums.

Over 15 Years of Experience
The ViewTech Borescopes team was established in 2008 with the goal of bringing affordable, high-quality video borescopes to the market.
Request a Free Demo Unit
Check the box in the form below and one of our representatives will arrange a free demo unit.

Call Us at 231-943-1171
– Or –
Fill out the form below and one of our representatives will contact you.
